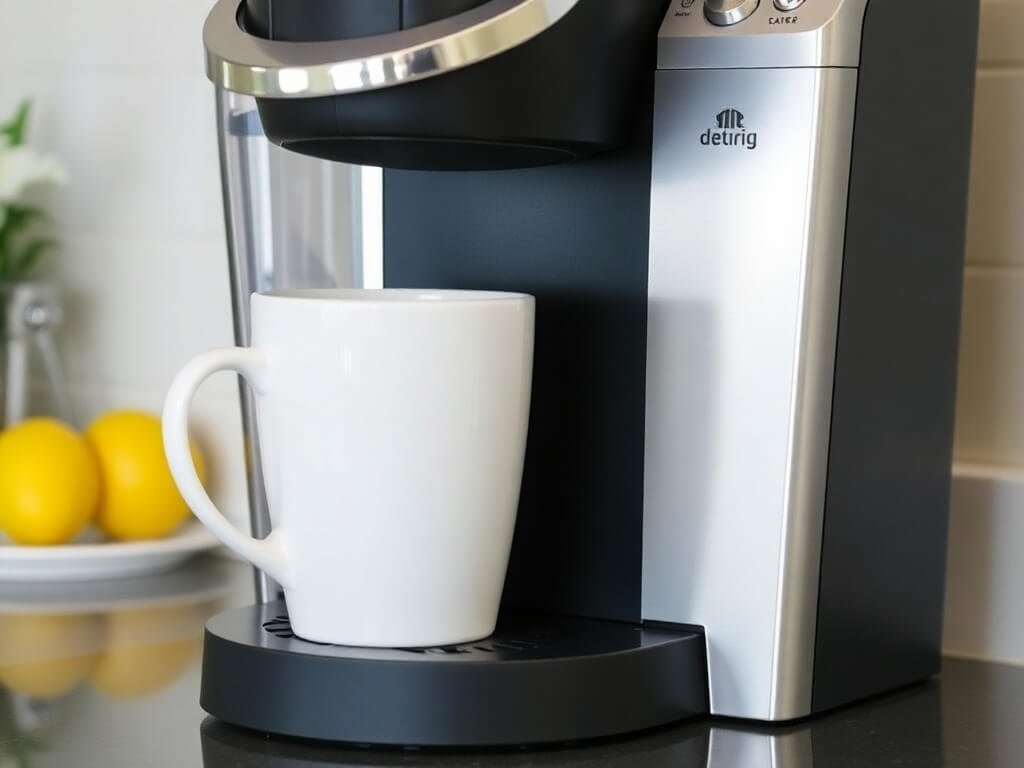
Keurig coffee makers are a beloved appliance for many coffee drinkers due to their convenience and quick brewing process. However, over time, mineral deposits from water—specifically calcium and lime—can build up inside your Keurig, leading to clogs, poor brewing performance, and even an altered taste. This buildup is commonly referred to as “scale,” and it’s essential to describe your Keurig regularly to maintain optimal performance and extend the life of your machine.
In this comprehensive guide, we’ll explain how to properly descale your Keurig, the importance of descaling, and some valuable tips for keeping your machine in top shape. If you’ve been wondering how to describe a Keurig or how often it should be done, keep reading for all the necessary details.
Why You Need to Descale Your Keurig
- Improved Brewing Performance
Descaling your Keurig ensures that the internal components, such as the water heater and water lines, are free from mineral buildup. These parts can get clogged without regular descaling, leading to slower brewing times or complete blockages. By descaling regularly, you help your Keurig function efficiently and brew your coffee faster.
- Better Coffee Taste
Scale buildup can also affect the taste of your coffee. As minerals accumulate, they can alter the water temperature and disrupt brewing, leading to subpar flavour. By descaling your Keurig, you’ll remove these mineral deposits, ensuring each cup of coffee tastes as fresh as possible.
- Extended Machine Life
Regular maintenance of your Keurig, including descaling, helps prevent damage to the machine over time. By removing mineral deposits, you can prevent clogging and potential malfunctions that might require expensive repairs or replacements. This simple step can extend the lifespan of your Keurig and save you money in the long run.
- Preventing Leaks and Malfunctions
Scale buildup affects performance and taste and can lead to leaks and malfunctions. As the minerals accumulate inside your Keurig, they can block important pathways for water flow, which could cause water to leak out or the machine to stop working altogether. Descaling is an essential step in keeping your Keurig in good working condition.
How Often Should You Descale Your Keurig?
The frequency of descaling depends on several factors, including the hardness of your water and how often you use your Keurig. You should describe your Keurig every 3 to 6 months. If you have hard water, you may need to descale more often, as it leads to quicker mineral buildup.
Signs That Your Keurig Needs Descaling:
- Slow brewing time: If your coffee takes longer than usual, this could be a sign of scale build-up.
- Fluctuating water temperature: If the water temperature seems inconsistent, this might indicate a mineral buildup affecting the water heating process.
- Poor taste: If your coffee tastes off, it could be because mineral deposits affect the brewing process.
- Visible scale: If you notice a white, chalky residue around the water reservoir or in your cup, it indicates that descaling is needed.
How to Descale Your Keurig: Step-by-Step Instructions
Now that you understand why and when to describe your Keurig let’s walk through the process. The good news is that descaling is easy, and with the right tools, you can maintain your Keurig in just a few simple steps.
Materials You’ll Need:
- Descaling solution: You can use a Keurig-branded descaling solution or a homemade mixture of equal parts white vinegar and water.
- Water reservoir: Empty your Keurig water reservoir before starting the process.
- Paper towels or a clean cloth: For wiping down any messes.
Step 1: Empty the Water Reservoir
Before you start the descaling process, ensure your Keurig’s water reservoir is empty. Pour out any leftover water in the tank, as you will replace it with the descaling solution.
Step 2: Add the Descaling Solution
Follow the manufacturer’s instructions if you’re using a Keurig descaling solution. Typically, you’ll need to add one bottle of descaling solution to the water reservoir and then fill the rest of the tank with water.
Mix white vinegar and water in equal parts if you opt for a DIY solution. For most Keurig models, this should be around 10-14 ounces of vinegar mixed with an equal amount of water, depending on the water reservoir size.
Step 3: Start the Descaling Process
With the descaling solution, power up your Keurig and place a large mug or container on the drip tray to catch the liquid. Begin the descaling process by running a brew cycle without inserting a K-Cup.
- Press the brew button and let the machine cycle. The water will begin to pour out, mixing with the descaling solution.
- Once the cycle finishes, pour the liquid in the mug down the sink.
- Repeat this process until the water reservoir is empty.
Step 4: Rinse with Clean Water
After you’ve run the descaling solution through the machine, it’s essential to rinse out the Keurig to remove any remaining vinegar or descaling residue. Fill the reservoir with fresh water and run several brew cycles without a K-Cup. Be sure to empty the mug after each cycle until you no longer smell vinegar or see any residue.
Step 5: Clean the Keurig’s Exterior
While you wait for the descaling solution to work, clean the exterior of your Keurig. Use a damp cloth to wipe down the outside of the machine, the drip tray, and the pod holder. A clean Keurig looks better and ensures no leftover coffee grounds or dirt buildup, which could interfere with future brewing.
Step 6: Reassemble and Test
Once the water reservoir is thoroughly rinsed and your Keurig is clean, reassemble your machine. Test it by brewing coffee (or water) to ensure everything works properly. Your Keurig should now be free of mineral deposits and operating at peak performance.
Tips for Maintaining Your Keurig Between Descaling Sessions
While descaling is a vital part of maintaining your Keurig, there are other steps you can take to ensure your machine runs smoothly and produces great-tasting coffee every time.
- Use Filtered Water
Using filtered or bottled water can help reduce the amount of mineral buildup inside your Keurig. Hard water is a leading cause of scale accumulation, so switching to a water source with fewer minerals can slow down the descaling process and help your machine stay cleaner for longer.
- Clean the Water Reservoir Regularly
It’s a good idea to clean the water reservoir monthly to prevent bacteria and mould growth. Wash it with warm, soapy water and a non-abrasive sponge. Avoid putting it in the dishwasher unless the manufacturer specifically says it’s dishwasher-safe.
- Use the “Clean” Button (If Available)
Many newer Keurig models come with a “clean” button, which is designed to help clear out any mineral buildup in your machine. While it doesn’t replace full descaling, using the clean function occasionally can help reduce the frequency of full descaling.
- Descale in Small Batches
If you use your Keurig frequently, you may want to describe it in smaller batches, especially if you live in extremely hard water. Running a mini-descaling cycle every few weeks can keep mineral buildup to a minimum and reduce the need for deep descaling sessions.
Alternatives to Commercial Descaling Solutions
While Keurig sells its descaling solution, there are several alternatives available that can also do the job effectively:
- White Vinegar and Water
As mentioned earlier, describing your Keurig using a mixture of equal parts white vinegar and water is one of the most cost-effective and natural methods. Vinegar’s acidity helps break down mineral deposits, making it a great alternative to commercial descaling solutions.
- Citric Acid
Citric acid is another natural alternative that works well for descaling. It can be found in powder form and is often used in cleaning and descaling products. To use citric acid, dissolve a tablespoon of the powder in the water reservoir and run the brew cycle with vinegar.
- Descaling Tablets
Descaling tablets are a convenient alternative if you don’t want to mix solutions. Drop the tablet into the water reservoir and follow the manufacturer’s instructions for descaling.
Conclusion: Descale Your Keurig for Optimal Performance
Descaling your Keurig is essential to regular maintenance to keep your coffee maker in excellent condition. Removing mineral deposits from the machine improves brewing performance, extends lifespan, and ensures your coffee tastes as good as possible.
Follow the steps outlined in this guide to describe your Keurig every 3 to 6 months or more frequently if you have hard water. Also, remember to clean other parts of your machine regularly to keep it operating smoothly.
With some care and attention, your Keurig will continue delivering fresh, delicious coffee for years. Happy brewing!
you may also read:How to Unpair Apple Watch: A Step-by-Step Guide